Showing posts with label recipe. Show all posts

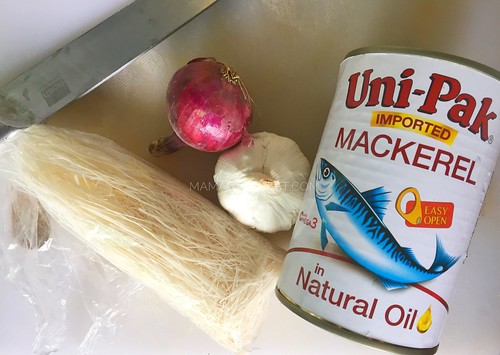
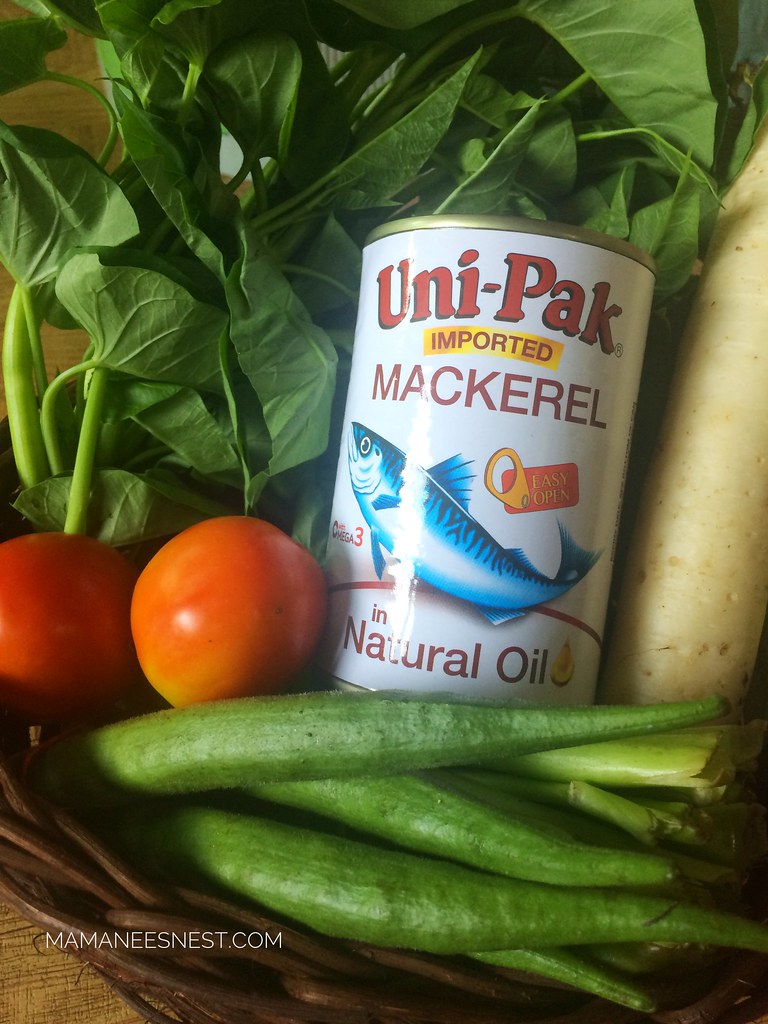
Pak na Pak sa Uni-pak Give-away + Tipid Ulam Idea

Here we go lasses! Another wonderful give-away from Unipak Mackerel which I am sure you will love! Super easy to join and you will win a gift pack from Unipak!

I love Unipak Mackerel because aside from the fact that it is absolutely delicious, it's also so affordable. 

Uni-Pak

I featured a recipe using Unipak Mackerel before which I was very surprised with the outcome and it is one of my lass' favorite too. 

Save Money, Be Healthy with Uni-Pak Mackerel

Will you agree with me that planning the menu for the day is a challenge? Then you find yourself going through the same menu every week.With my jam-packed life, I am keenly on the look out for new dishes for our family to have, that are to easy to prepare with ingredients which are not hard to find.

Uni-Pak Mackerel


I thought I knew a lot of recipes, then I discovered that Mackerel can be cooked in many ways aside from the regular gisa with misua.Now, I have a new favorite and that is Uni-Pak Mackerel, whoever thought that this canned fish could be so versatile?

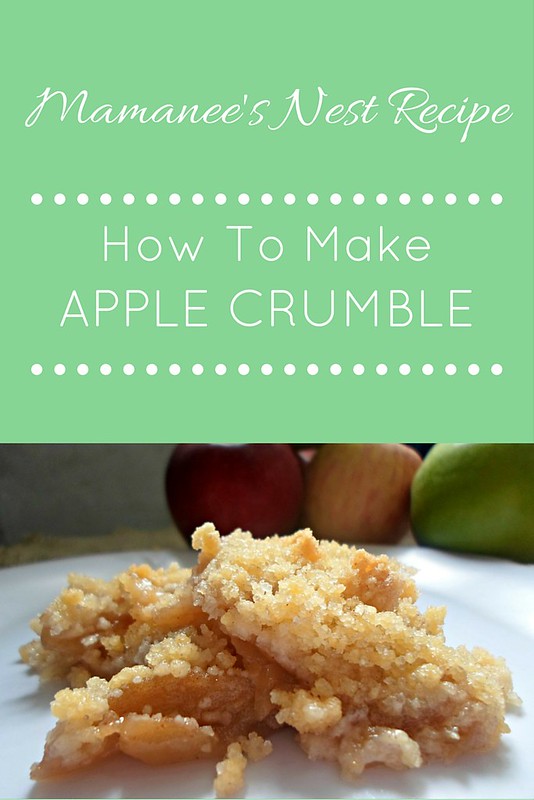
Recipe| Sweet and Crunchy Apple Crumble Dessert

Growing up in London exposed me to a different food palate, than what we are used to here in The Philippines. I have to say I absolutely miss fish and chips where fish is actually cod and chips are not the size of french fries and they are both soaked in brown vinegar, I also love steak and kidney pie - which currently my frustration, the struggle to create pastry dough LOL.


APPLE CRUMBLE

So just to satisfy my cravings, I opt for the easier recipes and one that I have usually made is Apple Cumble which is also known in the US as Apple Crisp. Apple Crumble in the UK originated in World War II as food rationing. 

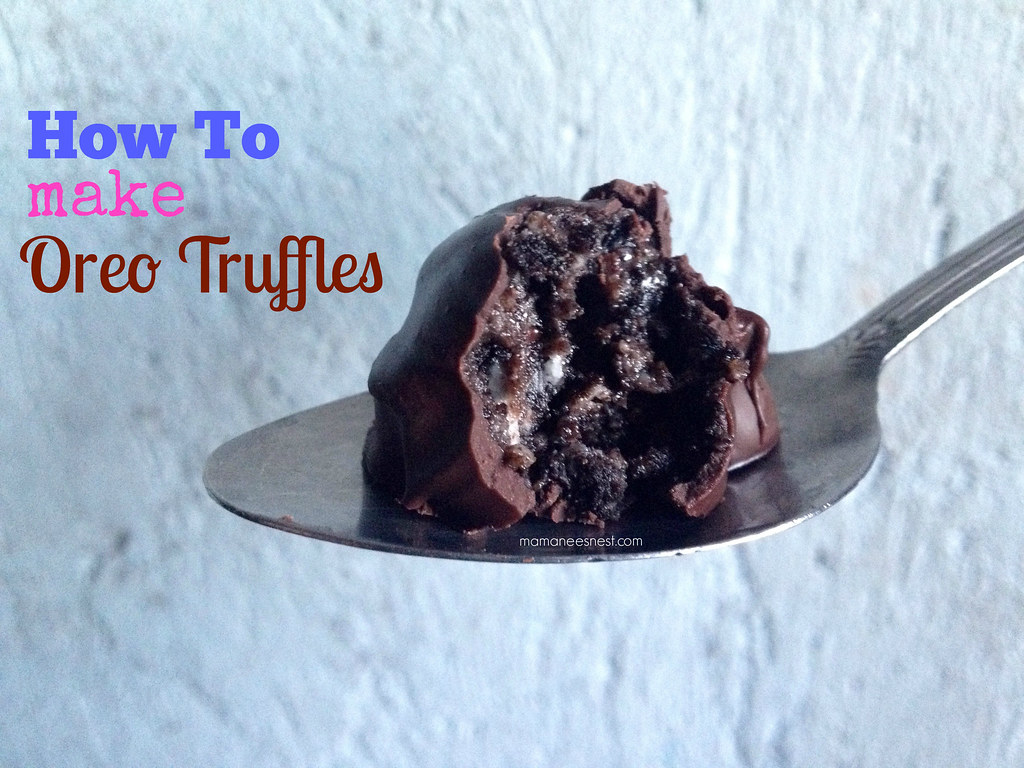
Recipe| Quick and Easy: How To Make Oreo Truffles

I tried out this quick and easy dessert which turned out to be a success! Who doesn't love chocolate right? 

This wonderful truffle is so versatile and there is no added sugar!3 simple ingredients and a whole lotta love!

oreo

So as requested, I'm sharing the recipe here!

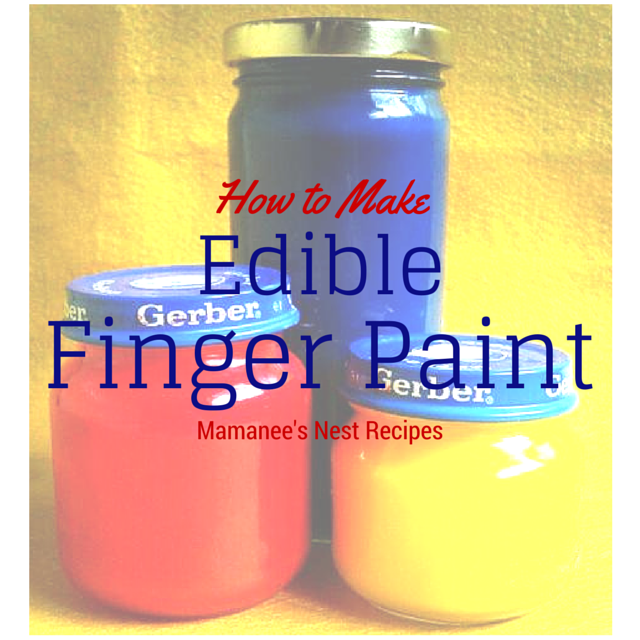
Recipe| How To Make Home- Made (almost edible) Finger Paint

When I was still a stay-at-home mummy, I had all the time in the world to think of activities for my babies. Since we were on an income that was just enough to get us by, I would usually resort to DIY (Do-It-Yourself). With my daily browsing on tumblr, I came across a recipe (couldn't remember who the poster was though) which I will share with you.


Now, I am sure that you would love that your kids feel your love by activities that you have prepared especially for them, right? OK, so let's cut the chase and get to it!

Recipe| How to make Jolly Cow Graham Balls [Step-by-Step tutorial]

Christmas is so near right? And if you are like me wanting to have quick desserts available to serve or even sell this Christmas season then Graham Balls are your quick fix.


Recipe| How to Make Soft Batch Choco chip cookies

You have to be in denial if you say that you do not like a cookie dunked in milk or paired with coffee.

Yes, our childhood leaks back in when you get a whiff of those freshly baked cookies from the oven and it magnetizes you to just grab one. Just the same effect that my daughter and hubhub experiences. 


Recipe| How to make Puto Flan or Leche Puto

After posting over the weekend my success with creating the Puto Flan, I received a lot of praise for it and also was asked about the recipe. So I'll be happy to go ahead and share what I used and also the procedure.


Recipe | How to make a No-Bake Blueberry Cheesecake

Ever since I got a hand on my mixer, I have been scouring the net for recipes, and number one on my list was the Cheesecake. 

I have always been a fan of the delectable dessert and yet and just cannot remember when was the first time I had ever tried cheesecake. 

I do have my favorites, though and on the top of my list is Blueberry. I do love the creaminess and the tangy taste of the fruit that comes together once you take a bite. 

Last week while browsing for the perfect recipe for Blueberry Cheesecake, and for being the lazy person I am at times, I opted for the easy way out, which was the no-bake cheesecake type.

I stumbled upon a recipe on mymomfriday.com, where there was a complete tutorial on how to make Blueberry Cheesecake and the photos were very helpful since it allowed me to check if the consistency of the filling was correct.

Well anyhow, I finally gathered the courage to try out creating my first Blueberry Cheesecake and it came out pretty well, unfortunately I didn't have the right pan to use and I used a rectangle plastic ware food container instead, and although the filling was laid on not so thick, it didn't actually compromise the taste or consistency at all, I felt it was just right.

I did lessen the sugar for the filling since I didn't want it too sweet and the lemon rind and juice was perfect for the tangy taste.

Taking a bite, it reminded me of the cheesecake that they served at Mc Cafe, same consistency and taste.


The recipe was able to produce around 15 servings, I will definitely be making this again. So if you are up for the challenge let me share the recipe from based on mymomfriday.com, I say based because I did omit one ingredient included in the crust which was nutmeg:

NO-BAKE Blueberry Cheesecake

Ingredients:

Crust:
1 1/2 cups graham cracker crumbs
1/2 teaspoon cinnamon powder
1 tablespoon sugar
1/2 cup (approx. 100g or 1 stick) softened butter
1 teaspoon lemon juice and grated rind (optional)

Cheesecake filling:
1 cup (brick) cream cheese (I used Magnolia Cream Cheese)
1 cup (brick) chilled all-purpose cream
1/2 cup sugar
3 tablespoons of milk
1 tablespoon of unflavored gelatin (make sure to look and use unflavored gelatin and not the Mr. Gulaman brand since it will not hold up well if so.)

Topping:
1 can Blueberry Pie filling (you will have some left over)

Procedure:

Crust:
1. Mix all dry ingredients and add butter to bind (you can also opt to use a can of condensed milk). Mix well, the crust mixture should be close the texture of moist sand add more butter or condensed if it feels too dry.

2. Transfer and press evenly on bottom of ungreased spring form pan or any pie dish you prefer.

3. Place in the freezer to harden crust while you make the filling.

Filling:
1. Using a mixer, whip the chilled all-purpose cream with 2 tablespoons of sugar (take some from the 1/2 cup of sugar prepared) until stiff, you will know it's stiff if you see peaks forming when you lift the mixer. Set aside.

2. In a separate bowl, gradually mix remaining sugar into softened cream cheese. Beat until fluffy and set aside.

3. In a small sauce pan, combine milk and the gelatin powder, heat until completely dissolved (do not boil and use a wire whisk while heating to remove lumps). Remove from heat, pour and beat into the cream cheese mixture.

4. Fold your cream cheese mixture into the whipped cream and beat on medium to high. Add lemon juice.

To assemble:

1.    Take out the pan with the crust from the freezer and pour the cheesecake fillin. Spread evenly with a spatula and tap the pan lightly to set and release air bubbles.

2.    Cover the pan and chill for around 4 – 6 hours or until firm.

3.    Top with the blueberry pie filling right before serving. It’s better to add the blueberry filling right before serving than adding it before chilling the cheesecake since it will make it dry and it will darken in color.

You can always use different toppings or variations and use this as a base recipe for Cheesecake.


Hope this recipe will make you happy and satisfy your cheesecake cravings as it did for me.

Let me know if you have any questions and if you tried this recipe in the comments section below. I would love to hear from you.

  

Recipe| How to make Pancakes from scratch

It has always been said that breakfast is the most important meal of the day. I surely love breakfast, gotta have it right to make my day bright! Hihi

My brekkie faves are cereals like Weetabix, English sausages and scrambled eggs with a side of buttered toast and Tapsilog!

Aside from Baking, I love to cook. One morning on a rest day I decided to create pancakes for the kids and hubby. I get tired of the usual pancake mix and it doesn't yield enough for you to be satisfied. To beat this craving, I went ahead and whipped up a batch of pancakes from scratch, yup from scratch!

Here's the recipe I used which I got from our friend Google. You can't expect them to be sweet but you can always adjust the sweetness :)

This recipe will give you around 4 large pancakes or 6 medium pancakes. I actually doubled this recipe which gave me around 12 medium pancakes. :)

Ingredients: 

  • 1 1/2 cups All purpose flour
  • 3 1/2 teaspoons Baking powder
  • 1 teaspoon of Salt
  • 1 tablespoon of Sugar
  • 1 1/4 cups of milk
  • 1 Egg
  • 3 tablespoons of melted Butter


Instructions in text:

  • Sift the all purpose flour and baking powder together in one bowl.
  • Add salt.
  • Create a well in the middle of your dry mixture, then add the sugar, egg, milk and butter.
  • Mix together, carefully not over mixing to avoid flat pancakes.
  • Heat a pan on medium heat with a little oil and butter (the oil prevents the butter from burning).
  • Place 1/4 cup of mixture in the pan or 1/8 for bigger pancakes.:)
Are they yummy? Let my  daughter, Dumpling show you:


How To Make Waffle Pops

Time is my gold. 2 little one don't really give my much especially that both are demanding. Taking a shower is definitely to be treasured even trying to wash dishes in between.

Then I found this awesome idea of waffle pops. Off to the supermarket I trotted to buy the ingredients to create a wonderful snack.

What I love about the waffle pops is that they are so easy to make, scrumptious and toddler approved. Just make sure to guide them since you have to use barbeque sticks.

So my dear fellow SAHM's and beautiful mothers, here you go:

1. All you need is waffle or pancake mix and hotdogs, you can even use cheese!


2. Slice the hotdogs like so:


3. Pour your waffle/pancake mix into a bowl:


4. Add water as the packet instructs:


5. Add an egg:


6. Mix together, I like using a whisk. Then set aside:


7.  Blanche the sliced hotdogs for 3 mins in boiling water:


8. Get some barbeque sticks:


9. Skew the hotdog slices:


10. Dip the skewed hotdog into your waffle/pancake batter:


11. Fry them in a deep pan of oil, over a medium- high flame:


12. They should come out looking like this:


Pretty awesome eh?


Looks like the little one is happy =)


Enjoy!